Vegan Marshmallows
We may earn a commission if you decide to make a purchase through our links, at no cost to you. As an Amazon Associate I earn from qualifying purchases. Please read our privacy policy for details.
Sweet, fluffy, and simple to make, these Vegan Marshmallows should be part of any plant-based kitchen! They’re perfect for s’mores, hot cocoa, rice krispie treats, or just for snacking.
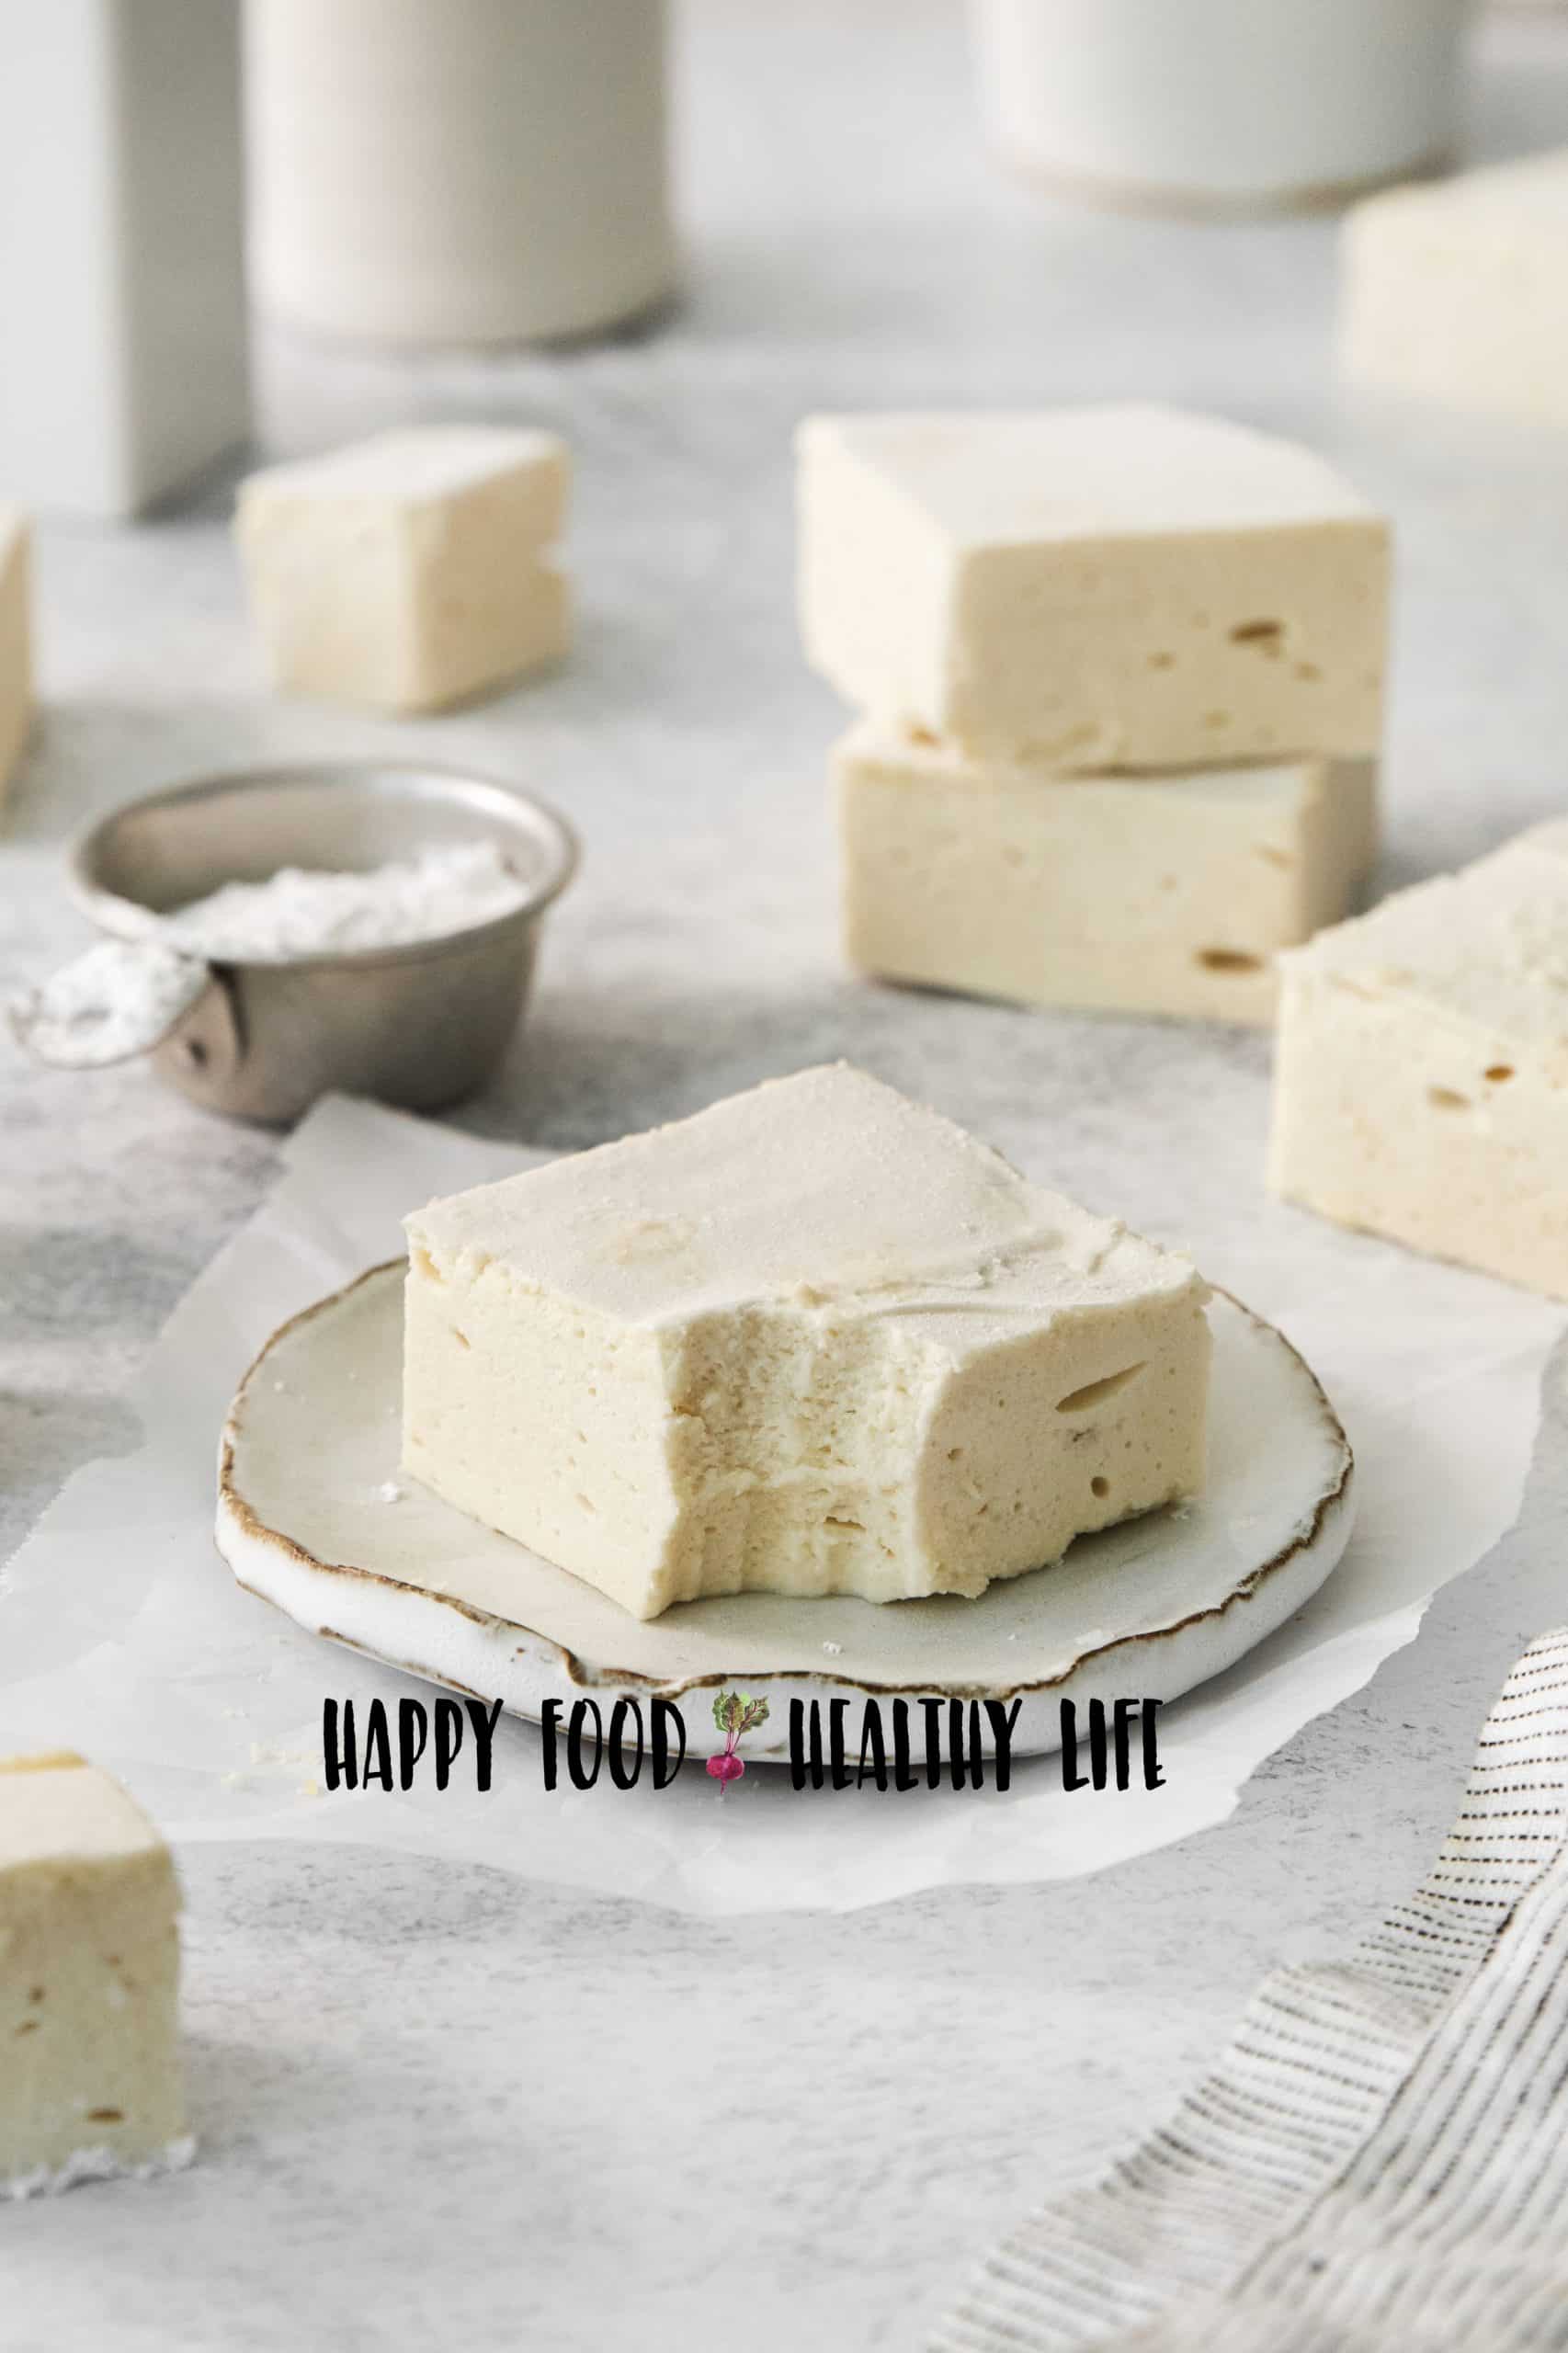
Any plant-based kitchen should have a delicious staple like this vegan marshmallow recipe in its back pocket.
Whether your kids are looking to make an epic hot cocoa, or you’re hosting a summer party and want to make a s’mores bar.
I love making homemade vegan marshmallows for the holidays too – they’re fun to add to Christmas cookie trays.
Having a vegetarian marshmallow recipe on hand that isn’t packed full of preservatives is key to making everyone happy!
Why You’ll Love This Recipe
- These vegan marshmallows come together within half an hour.
- All natural ingredients, including organic sugar. No aquafaba, no corn syrup, no preservatives here!
- They set up very quickly – You won’t have to wait overnight to enjoy these marshmallows!
- You can use vegan marshmallows to make Rice Krispie treats (use them in your favorite recipe, exactly the same as traditional marshmallows).
- They hold their shape and you can squeeze them between your fingers like perfect sugar pillows and they bounce back just like you’d expect a marshmallow to do.
- I’ve perfected the recipe! I’ve been working on this recipe for years, and can finally say that I’ve reached vegan marshmallow perfection. Stick to the recipe, follow the instructions, and you’ll definitely agree.
Absolute Perfection.
I wish I had known just how easy it was to make a vegan marshmallow all these years. Now I’m going to show you how YOU can make them too!

Ingredients and Substitutions
- Organic Powdered Sugar – using organic powdered sugar is the option you’ll want to go with if you’re looking to keep these 100% animal-cruelty-free. Non-organic sugars use animal parts in the processing.
- Tapioca Flour – Using tapioca flour is important to make sure the marshmallows don’t stick together once cut into cute little squares. You can opt to use cornstarch instead if you’d like.
- Pea Protein Powder – This is one of the most important ingredients for these vegetarian marshmallows. Pea protein is inexpensive and high in protein, which gives these treats their structure.
- Baking Powder – This adds aeration to the marshmallows to give them a fluffy texture.
- Xanthan Gum – Xanthan gum is a synthetic product that is used often as an additive to thicken or stabilize foods. Another option is to use guar gum. Both are used interchangeably in many vegan marshmallow recipes.
- Organic Granulated Sugar – Same as with powdered sugar, you’ll want to make sure you use organic here for a fully plant-based option.
- Agar Agar – Agar actually comes from seaweed! But don’t worry – there’s no fishy flavor going on here. No flavor. No smell. No color. In fact, it is very similar to gelatin in most aspects except for where it comes from.
For the full list of ingredients and measurements, as well as step by step instructions for making the best vegan marshmallows from scratch, scroll down to see the recipe card!

Insider Pro Tips
- Avoid Crystals- To prevent sugar crystals from forming in the boiling pot, I keep a small bowl of water nearby, and use a pastry brush to carefully brush water around the inside of the saucepan to knock away any sugar there.
- Properly Cook the Sugar – It is best to use a thermometer for accuracy. If you’re having any trouble with the recipe, the first thing to check is that you’re cooking the sugar mixture and checking the temperature with a candy thermometer. The temperature you need to reach is 225°F (107°C). Less than that and your marshmallows won’t set. More than that and you’ll make something closer to taffy than to fluffy marshmallows.
- Whip the Pea Protein Mixture – if your marshmallows don’t set properly, I’d be willing to bet that the “meringue” didn’t reach “stiff peaks”.
- Be Prepared – It’s best if you have the stand mixer all ready to go with the covered towel and everything when the sugar mixture has come to temperature so you’re not letting it cool down at all. You want to be able to move quickly.
- Make Slicing Easier– I have found it’s best to use a clean sharp knife and dip it in the powdered sugar mix first. Then rinse the knife off every few cuts and dust it again.
- Avoid Stickiness – Dust the cut marshmallows with additional tapioca + powdered sugar so that they’re easy to handle.
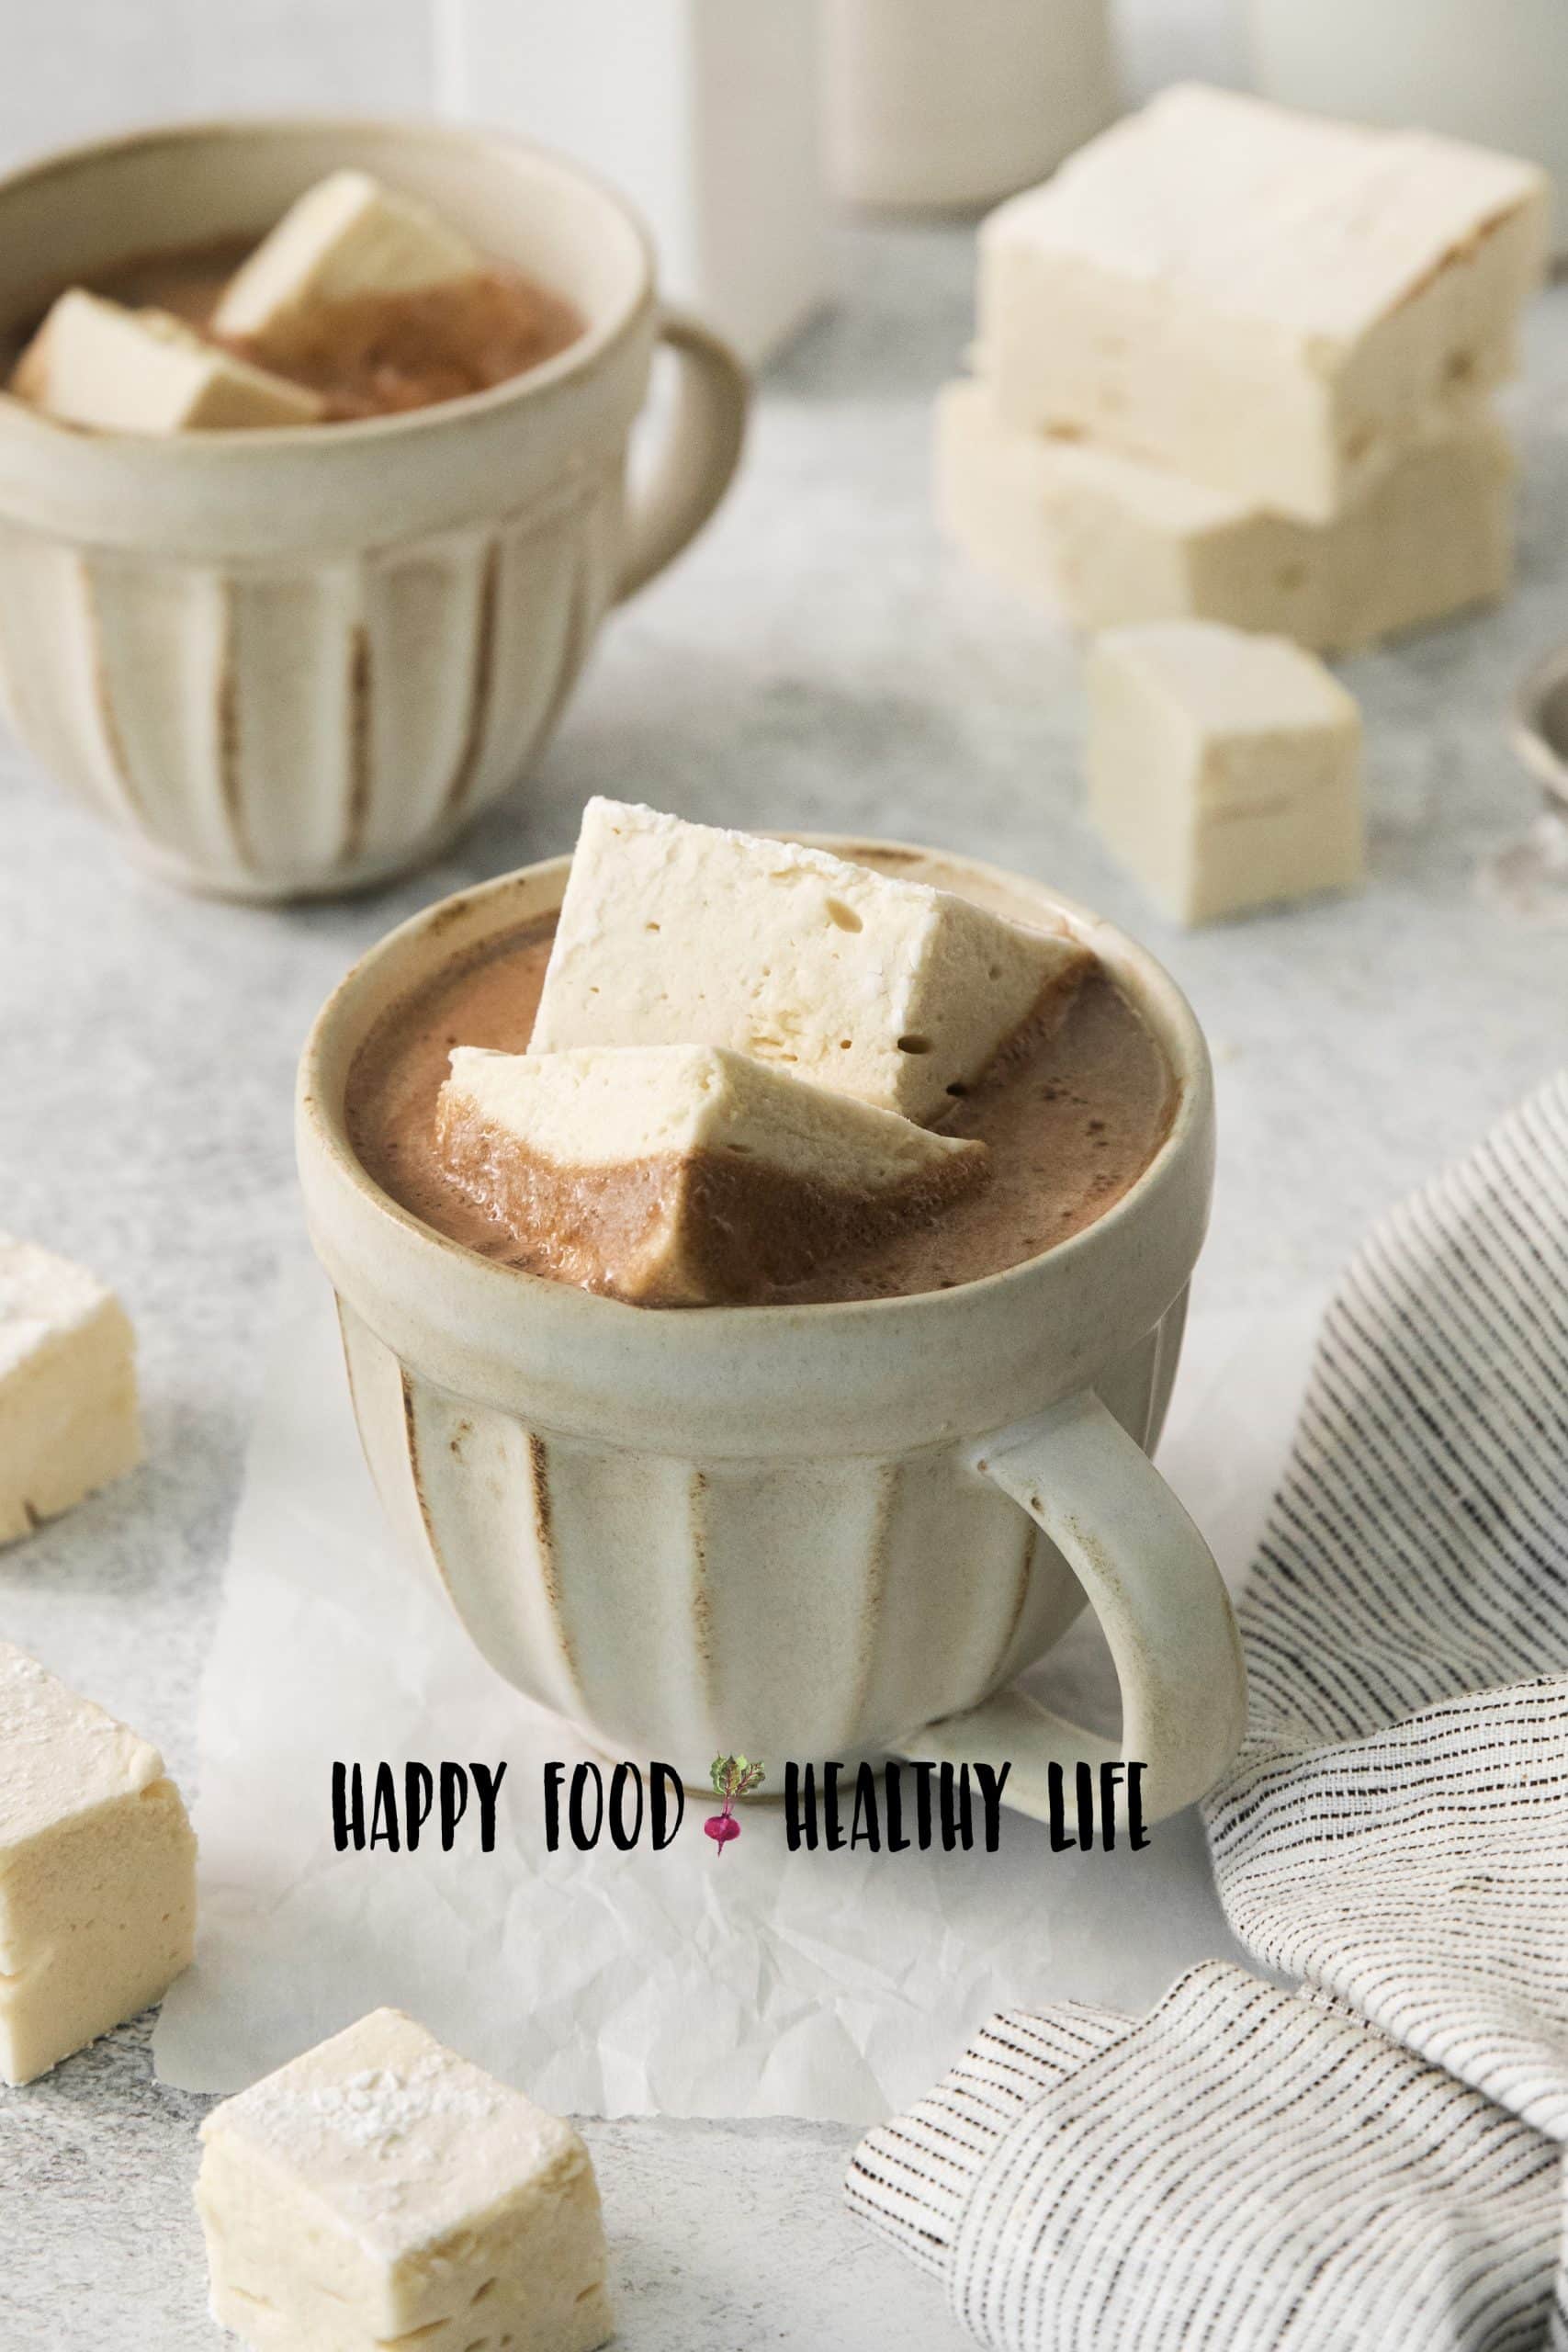
- Make Vegan S’Mores – One of my favorite ways to enjoy marshmallows is sandwiched between two cookies, and the more chocolatey the better. I’d definitely smash a mallow between these triple chocolate cookies without a second thought! Toast vegan marshmallows using a kitchen torch for the full experience.
FAQ
More Vegan Dessert Recipes
- Vegan Double Chocolate Chip Cookies
- Vegan Fudge Cups
- Vegan Chocolate Truffles
- Vegan Lava Cake
- Vegan Cheesecake
- Vegan Brownies
- Vegan Fondue
- Chocolate Covered Cranberries
- Vegan Caramel Sauce
Be sure to check the recipe card below for full amounts and more in-depth instructions. I’ve tried to answer as many questions as I can here in the post, but if you have others, feel free to leave a comment!
This recipe has been updated to the best version I’ve tested yet on 03/13/2021! And more tips and tricks, and new photos were added in December of 2023.
Vegan Marshmallow Recipe
Ingredients
- 2 Tablespoons tapioca flour or corn starch
- 2 Tablespoons powdered sugar
- 5 Tablespoons pea protein powder with at least 90% protein isolate
- 2 teaspoons baking powder
- 1/4 teaspoon xanthan gum
- 3/4 cup cold water
Sugar Syrup Mixture
- 2 cups sugar
- 1 Tablespoon agar powder not the flakes
- 1 cup water
Instructions
- In a small bowl, combine powdered sugar and tapioca flour. Spray 8×8 pan with non-stick spray and coat with powdered sugar mixture completely. Tap the excess back into the bowl and set aside for coating the marshmallows later.
- In the bowl of a stand mixer, combine pea protein, baking powder, and xanthan gum. Add cold water and mix with the whisk attachment for 10 minutes. The mixture will be thick with stiff peaks.
- In a large heavy-bottomed pot, combine the sugar and agar powder. Add water, stir, and heat on high. Stir occasionally until mixture has reached 225-227°F.
- As soon as the sugar mixture has come to temperature, carefully pour it quickly into the pea protein mixture while whisking at high speed. It is best to use a splatter shield if you have one or cover the mixture with a clean towel so you don’t get splattered with the hot mixture.
- Mix for 10 minutes on high speed. Scrape the bottom and sides with a rubber spatula halfway through. After 10 minutes, the mixture will be shiny, thick, and fluffy and should hold stiff peaks.
- Quickly pour the mixture into prepared pan, using a rubber spatula to get it all out. Using a butter knife or offset spatula, quickly spread mixture to all edges and corners of the pan.
- Cool in refrigerator for 1 hour to set.
- Once completely set, turn the vegan marshmallow out onto a cutting board lightly coated in reserved powdered sugar mixture. Cut into squares however big you'd like and coat in reserved powdered sugar mixture. Enjoy immediately.
Notes
- Tips for Cooking the Sugar: It is best to use a thermometer for accuracy. If you’re having any trouble with the recipe, the first thing to check is that you’re cooking the sugar mixture and checking the temperature with a candy thermometer. If you do not have a thermometer, there are a couple of cues you can watch for. Not much will happen until the mixture reaches 210°. At that point, it will start to boil. Then around 212°, the mixture will begin to thicken. Once you reach the desired temperature of 225-227°, the mixture will have a thick consistency, somewhat like honey, but still clear.
- Marshmallows Didn’t Set? This is likely because the “meringue wasn’t whipped enough. Be sure to mix the pea protein mixture with an electric mixer until it has a thick texture that will stand up in stiff peaks.
- To Avoid Stickiness: Coat the marshmallows with an additional mixture of half tapioca flour and half powdered sugar.
- Add Flavoring: This base vegan marshmallow recipe does not include any flavoring, so the marshmallows will have the flavor of pea protein powder. Feel free to add vanilla bean powder, vanilla extract, or any other flavor extract you like. Add flavorings at the very end, just after the marshmallow mixture is whipped until fluffy.
- Storage: These vegan marshmallows are delicious just after they’re made, but unfortunately they do not keep well. Make this recipe and enjoy it on the same day.
- Ingredient Substitutions: I do not recommend trying to adjust the ingredients in this recipe! Marshmallows are already very finicky to make, and this vegan marshmallow recipe is even more so. Alternative sugar will not work in this recipe. Do not replace the agar agar with corn starch.
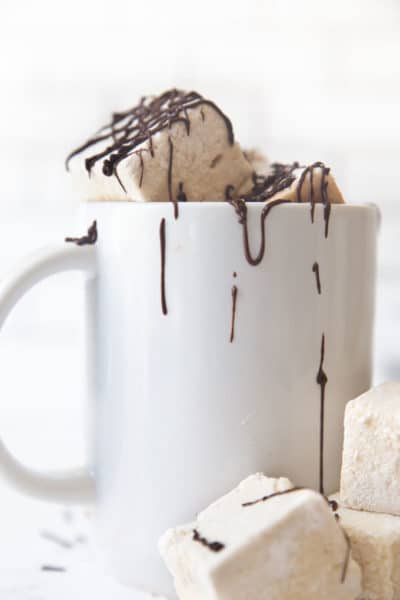
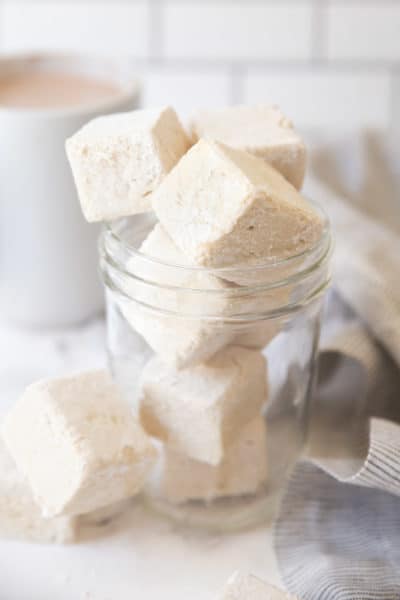
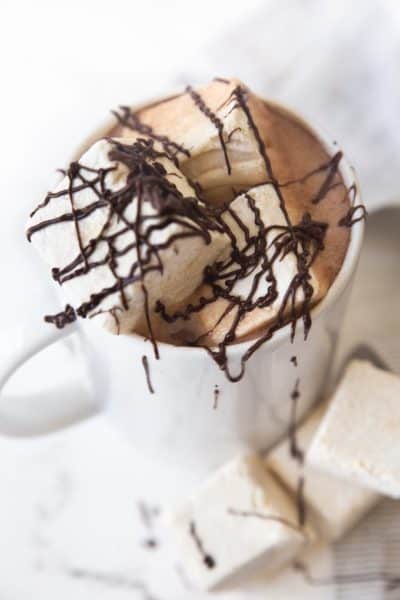
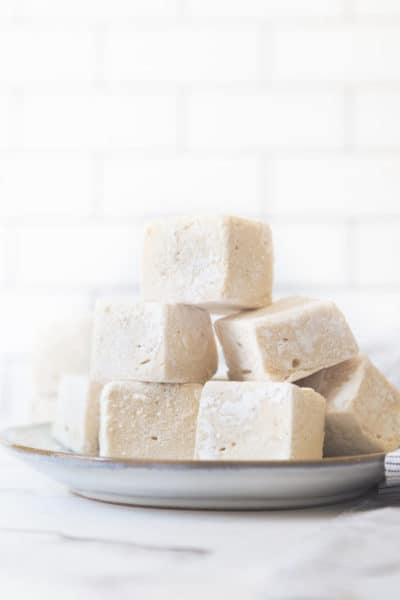
Check out the older photos of this marshmallow recipe!





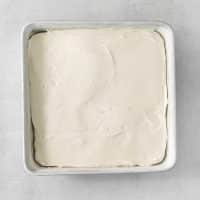
These marshmallows worked perfectly. I love the taste and the texture. Is it possible to use the stevia syrup instead of sugar? Feel bad using two cups of sugar. Would love a healthier alternative.
Thanks for writing in, I have not tried it with the stevia syrup, so I can’t comment for sure. I think it would change the consistency too much.
Can I add vanilla paste or other flavoring to these? Would you recommend reducing the water a bit if I did?
Hi Sara! I haven’t tried to flavor it with extracts or a vanilla paste but I don’t see why it would be a problem as long as its a very small amount. I would add them at the very end of Step 5 after the mixture has whipped into the fluffy marshmallow consistency. I don’t recommend adding cocoa as the powder may change the result. While I haven’t experimented I can’t say with 100% certainty, but I would probably reduce the water by a tiny amount.
hi! would homemade pea protein (finely grind down split peas) work for this recipe? and instead of xanthum gum, can i use cream of tartar (just want to use it up first). thank you!
Hi Carrie! That is a great question and honestly, I am unsure. I haven’t experimented with that. If you try it, let me know how it turns out 🙂
Hello, they turned out great on my first try!! Curious as to what you have found best for storage? And how long they last?
Thank you!!
Hi Kathy! The marshmallows do not keep for very long, I would enjoy them within the first 1-2 days. 🙂 I generally keep them in an air tight container on my counter. Many readers have said that when they store in the fridge, the marshmallows clump together.
Hi! I’m using Naked Pea 100% pea protein isolate, but it’s not whipping up. Do you have a brand you recommend?
Hello, thanks for reaching out! I currently have this recipe back in testing to see what other powders we can use and to problem-solve issues that some readers are having! We are always working to make our recipes simple and try to recreate issues our readers are having so we can problem-solve! I don’t have a rec right now, but in the next couple of months I should be able to give you a solid answer! I’ll update the post after our retesting is finished 🙂
Hey there! The recipe looks amazing! I’m hoping to make them for hot chocolate… how well do they melt? And will it Give the hot chocolate an off taste after? Thanks!
Great question Jacky! They do great in Hot chocolate and do not affect the taste! I hope you enjoy!
🙂 The HFHL Team
My marshmallows had a good taste, but when they set in the fridge for two hours the consistency was like a runny cream pudding. Maybe my syrup needed just an extra minute on the stove?
Oh no! I wish I could say this never happened to me in the testing period, but I definitely had some batches that ended up runny after “setting”. The solution is exactly what you said – an extra minute or so on the stove. Did you use a thermometer? That really helped me to pinpoint exactly where the mixture needed to be. I hope you give these another go because they.are.worth.it!