Homemade Chocolate Vegan Fudge Cups {with Coconut Cream}
We may earn a commission if you decide to make a purchase through our links, at no cost to you. As an Amazon Associate I earn from qualifying purchases. Please read our privacy policy for details.
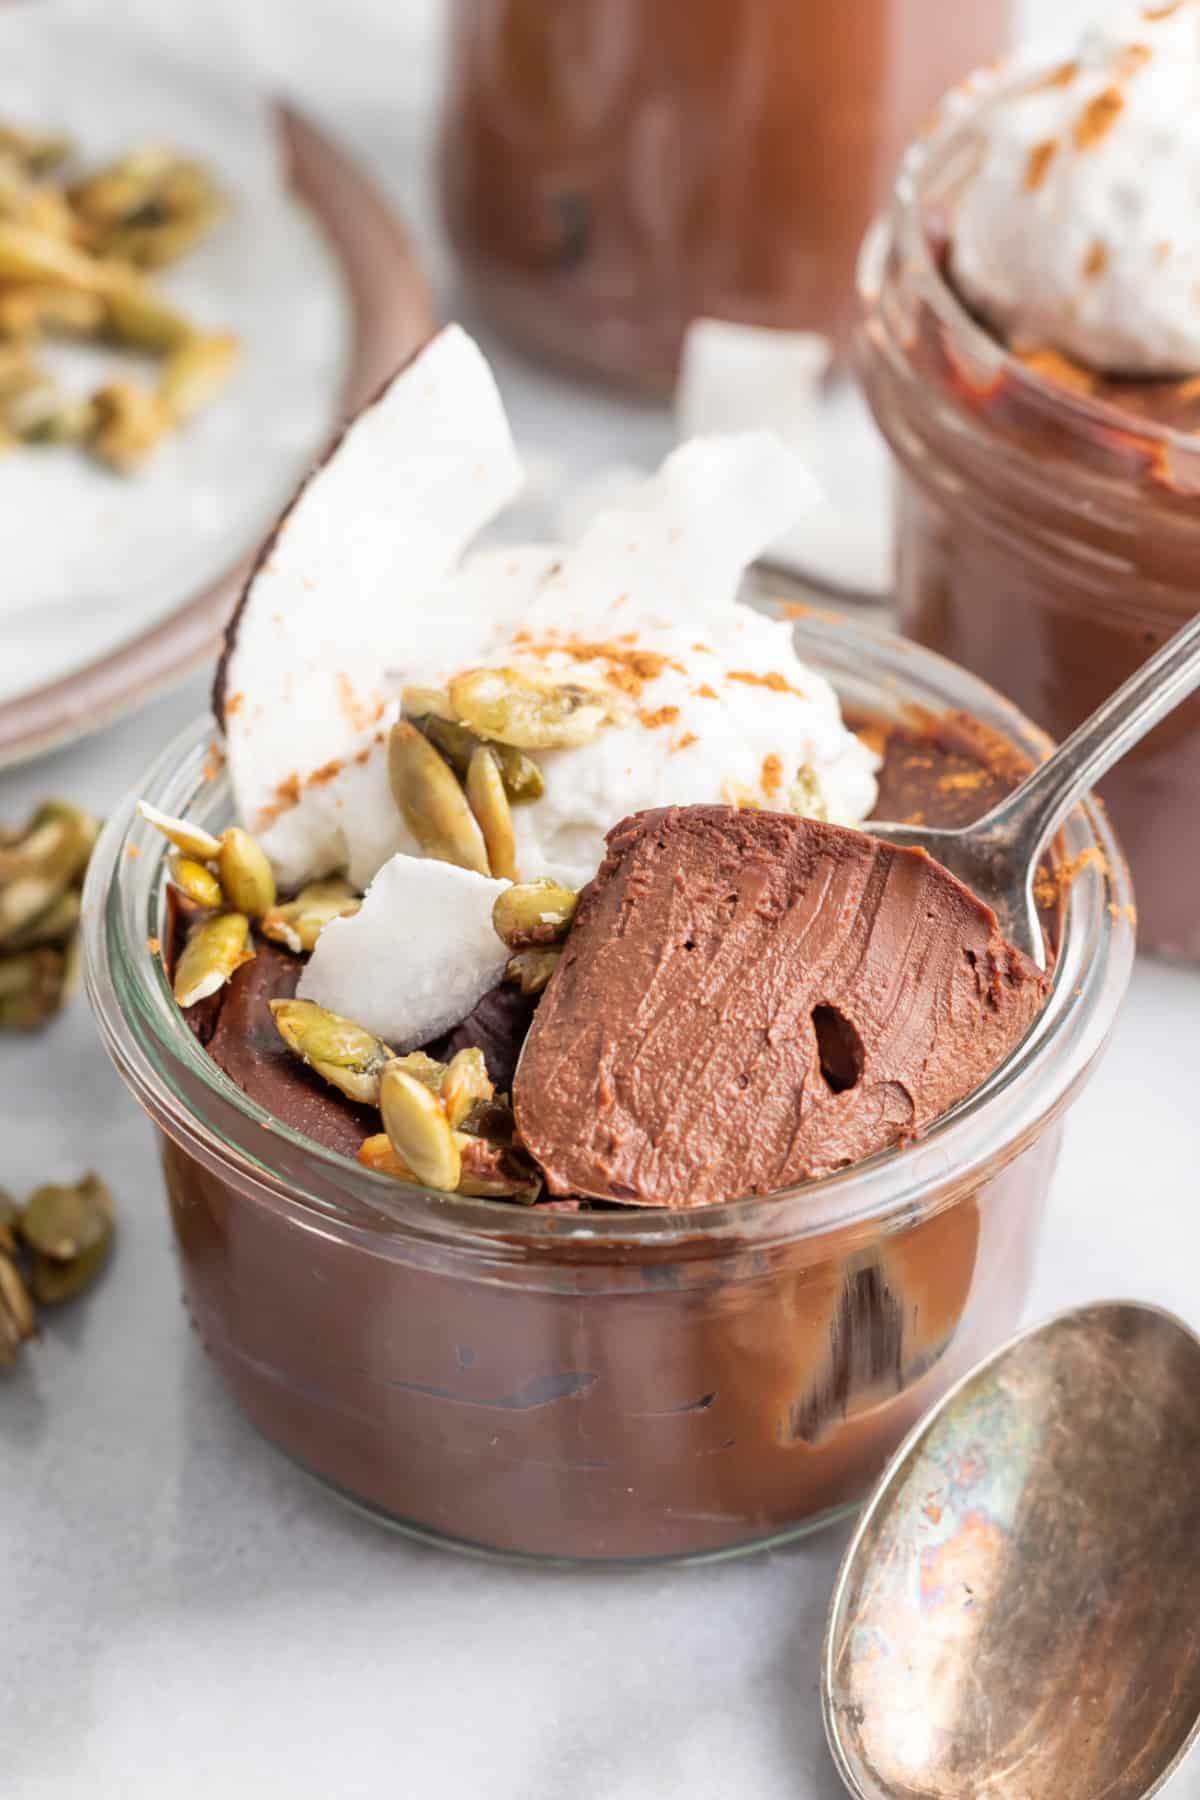
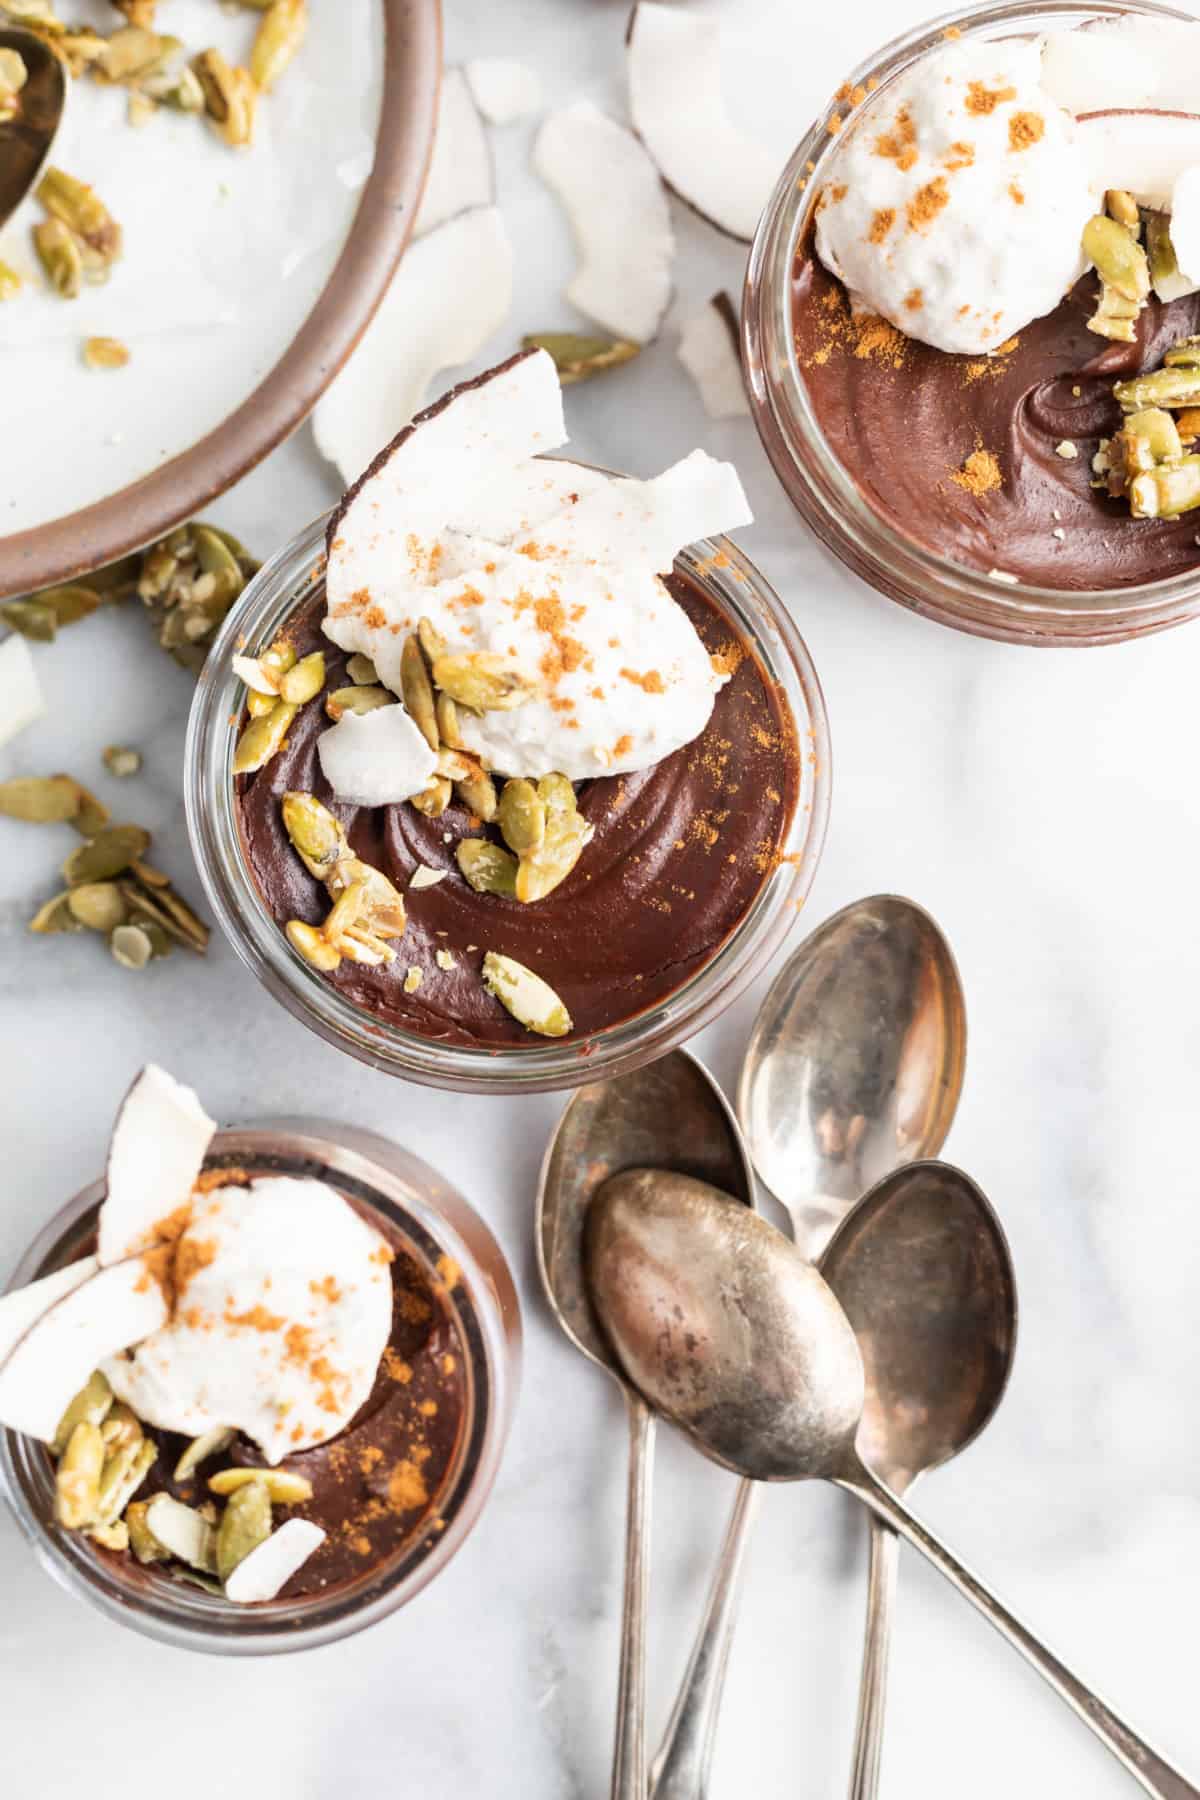
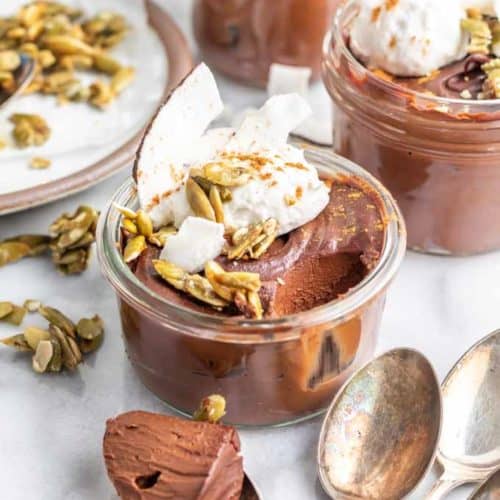
These Mexican Chocolate Vegan Fudge Cups are the perfect balance of sweet and heat when you’re looking to spice up your dessert.
WANT TO SAVE THIS RECIPE?
So you have a chocolate craving, eh?
You can’t stop thinking about chocolate, but you know you want something a little fancier than a handful of chocolate chips. You wanna go big without putting a whole lot of effort into it.
Oh, and it would be great if you impressed your special someone while you’re at it, yeah?
These Vegan Fudge Cups come together in no time, have minimal ingredients, and are SO worth the extra couple of steps to make them happen!
Reasons why you’ll love these fudge cups
One of best parts about these cups of chocolate is that they satisfy your need for a sweet treat in just a few bites. The richness of each bite coats your mouth in velvety-smooth sweetness.
I mean, who doesn’t love a treat that hits all the marks?!
- decadent
- impressive-looking
- fancy, but without much effort
- riiiiich
- indulgent
- oh-so-chocolatey good
Ingredients and Substitutions
Coconut Milk – For this recipe, you’ll want to be sure to use the coconut milk or coconut cream that comes from a can and scoop out the solids. This, combined with your other ingredients, is what will get the chocolate fudge cups to set up.
Medjool Dates – I LOVE that this totally decadent dessert doesn’t need any refined sugar because of the addition of dates to sweeten it all up. Make sure you grab pitted dates, or you can pit them yourself.
Cinnamon & Cayenne – I hope you aren’t scared of these ingredients mixed in with your chocolate treat. I promise, it’s just a teeny tiny bit we’re adding, and it’s what takes this treat from plain ole’ chocolate to mmmmm… red hot chocolate lover!
Unsweetened Chocolate – you can choose here. I either go with the baker’s unsweetened chocolate or I splurge on the unsweetened Ghiradelli’s chocolate. Either way is perfect.
Tahini – this sesame seed butter is here for creaminess and smooth texture. If you don’t have it on hand or aren’t able to find it… or don’t want to pay the price… I’d sub with cashew butter. It’s neutral enough tasting that it won’t add a nutty flavor to your perfect fudge cups.
Pepitas – the candied pepita topping is totally optional, but I think you’d be missing out by omitting it. The dark chocolate really can stand to have some contrasting flavors and textures to balance it out, and the shelled pumpkin seeds, sticky sweet in maple syrup, are the perfect way to do it.
Step-by-Step Instructions for Homemade Chocolate Vegan Fudge Cups
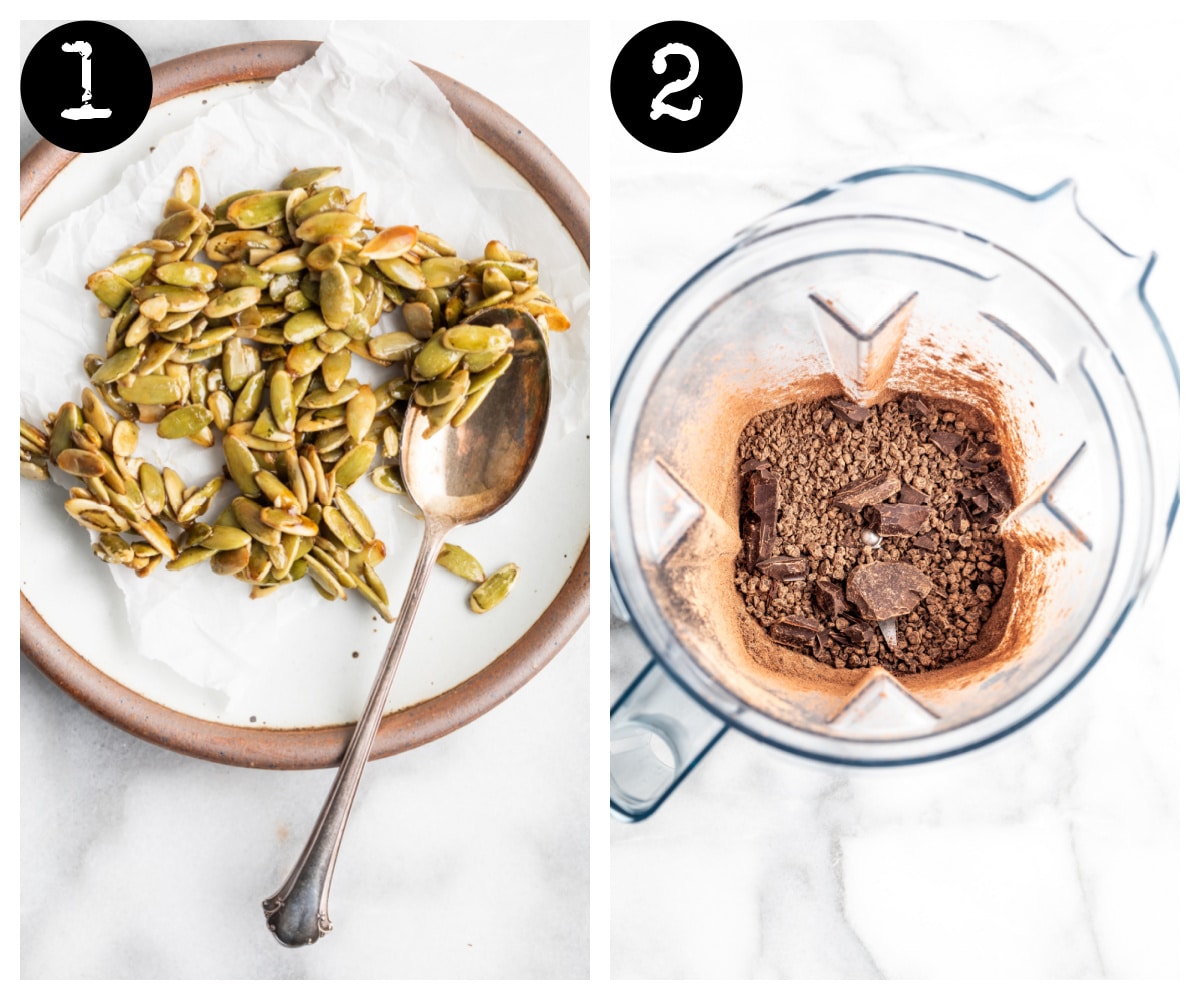
Step 1: Heat a small pan over medium low heat. Add the pepitas and maple syrup to the pan and cook until the mixture is thick and sticky, about 1 minute. Transfer to a parchment-lined baking sheet and set aside.
Step 2: Place the unsweetened chopped chocolate in a high speed blender. Pulse until is resembles coarse sand.
Step 3: Place the coconut milk, dates, cinnamon, and cayenne in a medium saucepan over medium heat.
Step 4: Pour the hot coconut mixture over the chocolate and let sit for 1 minute.
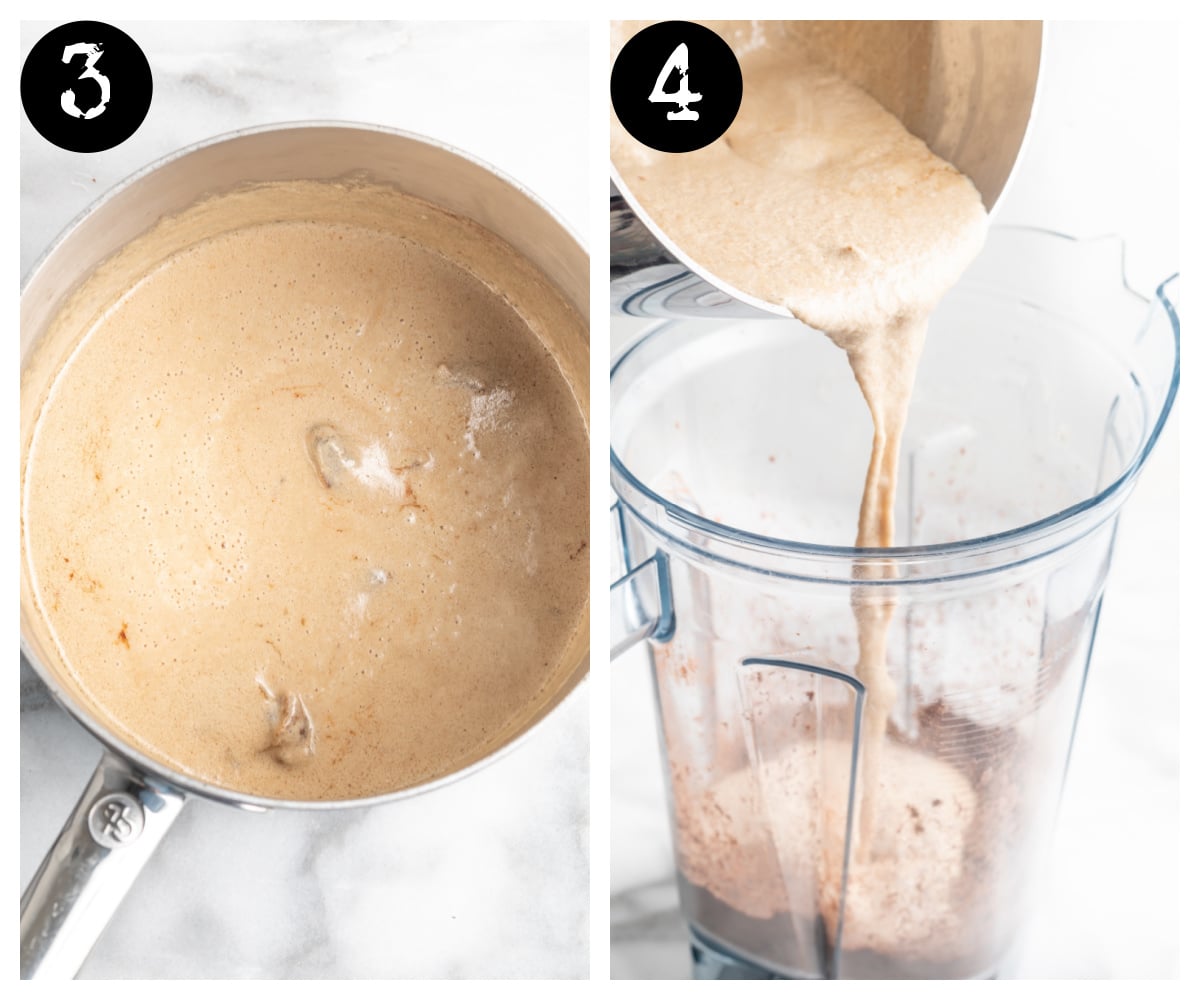
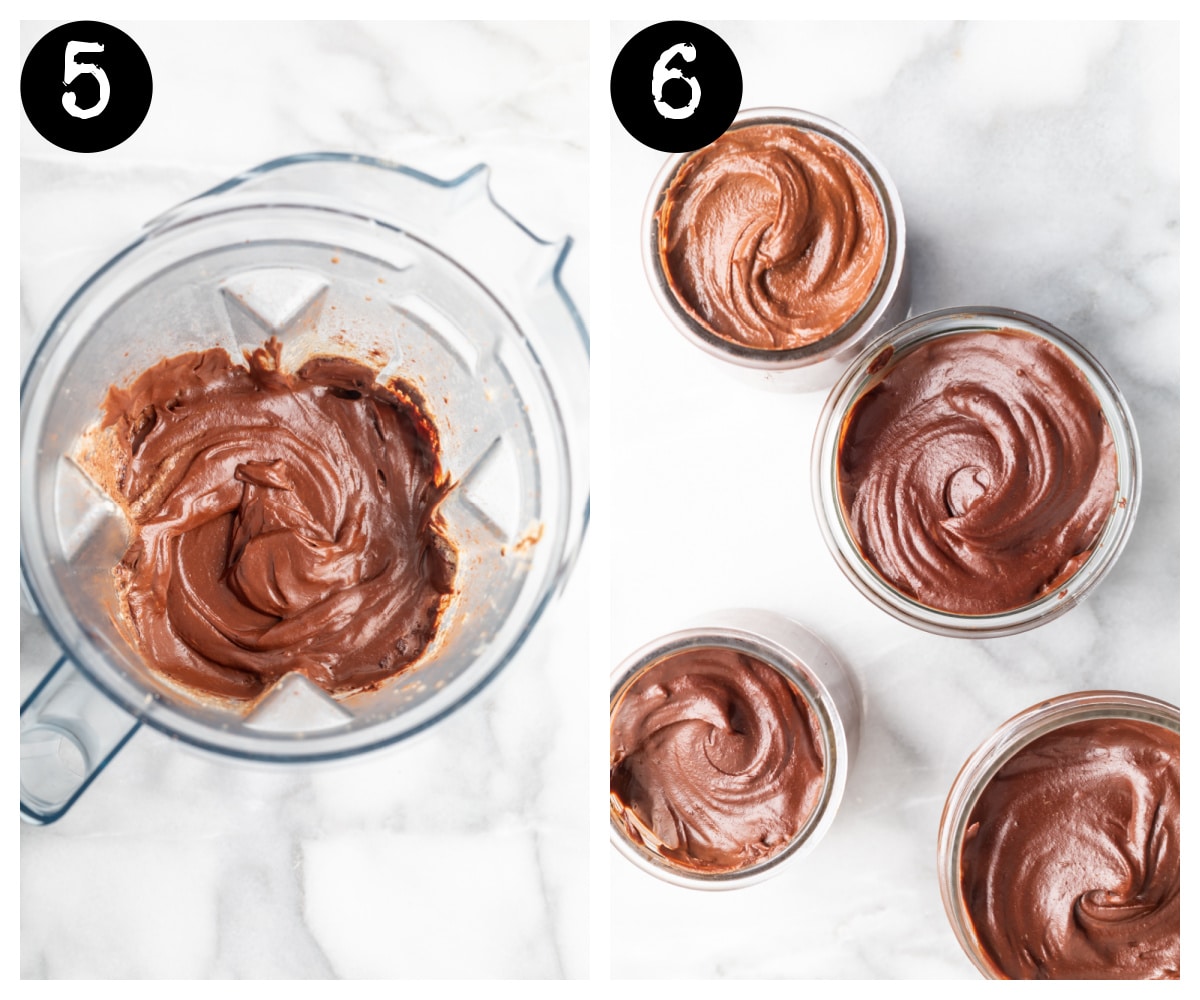
Step 5: Place the lid on the blender and blend on high for 1 minute until creamy.
Step 6: Pour the mixture unto ramekins, small jars, or small tea cups. Refrigerate for 3 hours to set.
Step 5: To serve, top with candied pepitas, whipped coconut cream, coconut chips, and a dash of cinnamon.

Insider Pro Tips
Chill the coconut cream
Be sure to put your canned coconut cream in the refrigerator as soon as you bring it home from the store. That will ensure that the cream has solidified and separated from the liquid. This makes it much easier to scoop out the solid cream when it comes time to making the fudge cups.
Vegan Fudge Cups FAQ’s
How long do these last?
They will last about 4-5 days in the refrigerator. I wouldn’t top the fudge cups with cream or the pepita mixture until ready to serve though, to ensure their freshness.
Looking for more Vegan Dessert Recipes?
Or check out the vegan dessert recipes page for even more!
Now that you know how to easy it is to make these Vegan Fudge Cups, please give it a 🌟🌟🌟🌟🌟 rating below and comment letting me know how it turned out for you.
MEXICAN CHOCOLATE VEGAN FUDGE CUPS
Equipment
- Vitamix Blender
Ingredients
- 1 13.5-ounce can coconut milk
- 5 pitted medjool dates
- 1/2 teaspoon ground cinnamon
- 1/8 teaspoon ground cayenne pepper
- 6 ounces unsweetened chocolate chopped
- 2/3 cup tahini
Candied Papitas
- 3 Tablespoons pepitas
- 1 Tablespoon maple syrup
Toppings
- 1/4 cup coconut cream
- coconut chips
- dash of cinnamon
Instructions
- Heat a small pan over medium low heat. Add the pepitas and maple syrup to the pan and cook until the mixture is thick and sticky, about 1 minute. Transfer to a parchment-lined baking sheet and set aside.
- Place the unsweetened chopped chocolate in a high speed blender. Pulse until is resembles coarse sand.
- Place the coconut milk, dates, cinnamon, and cayenne in a medium saucepan over medium heat.
- Pour the hot coconut mixture over the chocolate and let sit for 1 minute. Place the lid on the blender and blend on high for 1 minute until creamy. Add tahini and blend again til smooth. Pour the mixture unto ramekins, small jars, or small tea cups. Refrigerate for 3 hours to set.
- To serve, top with candied pepitas, whipped coconut cream, coconut chips, and a dash of cinnamon.


Quick question about a step in the recipe…you say to scoop out the solids from the cab of coconut milk…do you use just the solids in this recipe, or just the liquid or all of it? Thanks!
Hello Dacia! Thanks for asking, for the main mixture you use the “whole can” of the coconut milk, but I like to save a little bit of the ‘cream’ for a topping 🙂 So I included a dollop of the cream for the topping part. :). So just refridge the can, scoop out a dollop of the cream put back in the fruit, use the entire rest of the can (liquid and solid) for the recipe, then when ready to serve use that reserved dollop on top 🙂