How to Make Perfect Pie Crust in a Blender
We may earn a commission if you decide to make a purchase through our links, at no cost to you. As an Amazon Associate I earn from qualifying purchases. Please read our privacy policy for details.
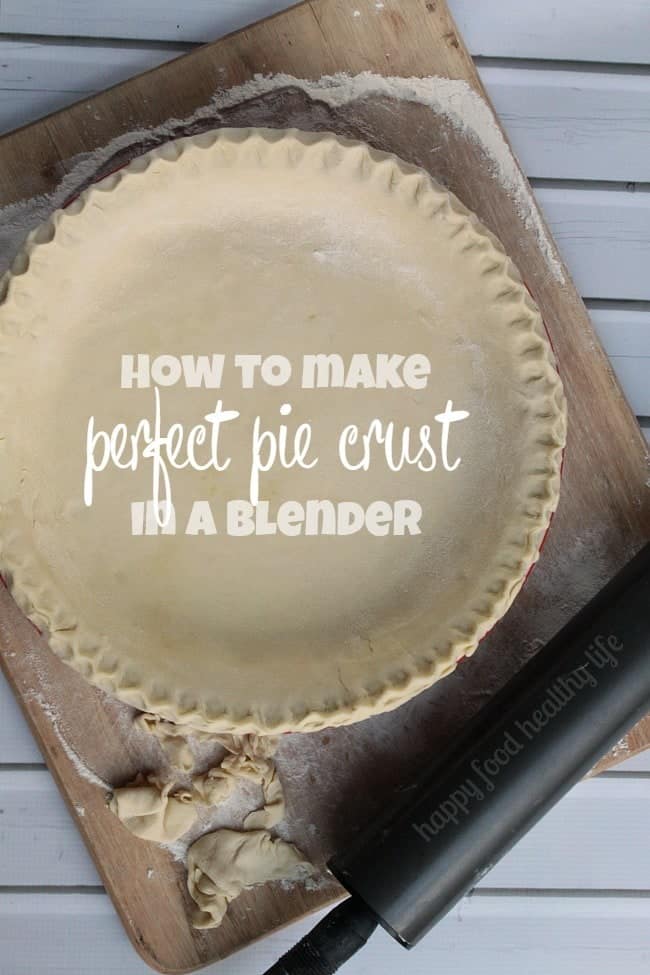
Making pie crust can be really scary for some people. That is why I wanted to share just how easy it can be by making Perfect Pie Crust in your Blender! No fuss. No hassle. Just pure perfection!
WANT TO SAVE THIS RECIPE?
So here’s the deal. Apple pie is my thing. It hasn’t always been though. It has come a long way, that’s for sure. Let’s see – I grew up eating frozen Sara Lee apple pies for Thanksgiving.
While there’s totally nothing wrong with that, I’m sorry, but I don’t can’t taste even once tiny ounce of love that may have been put into it. The very first time I made apple pie from scratch was about 8 years ago, and I was so nervous serving it to my family.
Were they going to like it? Was it going to meet their expectations since they were used to Ms. Lee serving Thanksgiving pie every year?
Really, I just needed to hear what my dad had to say about it.
So I plated up my first from-scratch, lattice-topped, caramel-y apple pie and handed it out to everyone. And just waited.
Everyone had dispersed themselves to random places in the house. Some to the front room. Some standing in the kitchen. And my dad up in the loft watching football. Everyone mmm-ing through their bites was a great indicator so far. And then I hear it.
“This is better than any Sara Lee pie I’ve had,” coming down from my dad.
Wahoo! Success!
So from then on, every year, I have been making apple pie from scratch. Changes here and there in both the recipe and technique. And the last time around, I made quite the change in my crust technique.
When it was time to put my work to the test, the praises were coming from my husband this time as he told me this was the best crust I’ve made thus far, and he doesn’t even like pie crust (which is quite baffling if you ask me!).
So I decided to put together a quick little video to show you just how easy it is to make pie crust from scratch at home.
And here are a few little tips/instructions on rolling out the dough:
1. Flour your work-surface generously before placing the dough down on it. Also flour your rolling pin.
2. In order to keep a circle-ish shape to your dough, roll in alternate directions. Away from you, toward you, to the left, to the right, diagonally each way, and then start over until you reach the desired size.
3. Roll your dough pretty thin, about 1/4″
4. Place your pie pan lightly on top of the rolled out dough to be sure it’s big enough. You’ll want it to be about 1 inch larger than the pan all around.
5. Once your dough is rolled out, use your floured rolling pin to roll the dough up onto it. Then gently and quickly, pick it up and place it so the edge is all the way over to one side of the pan and then roll it out so it lays gently over the pan.
6. Pick up each edge gently and be sure the crust sits all the way down into the bottom corners of the pan before laying it back down.
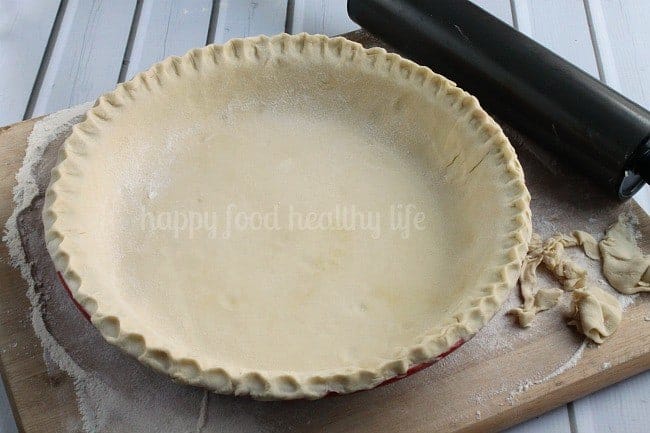
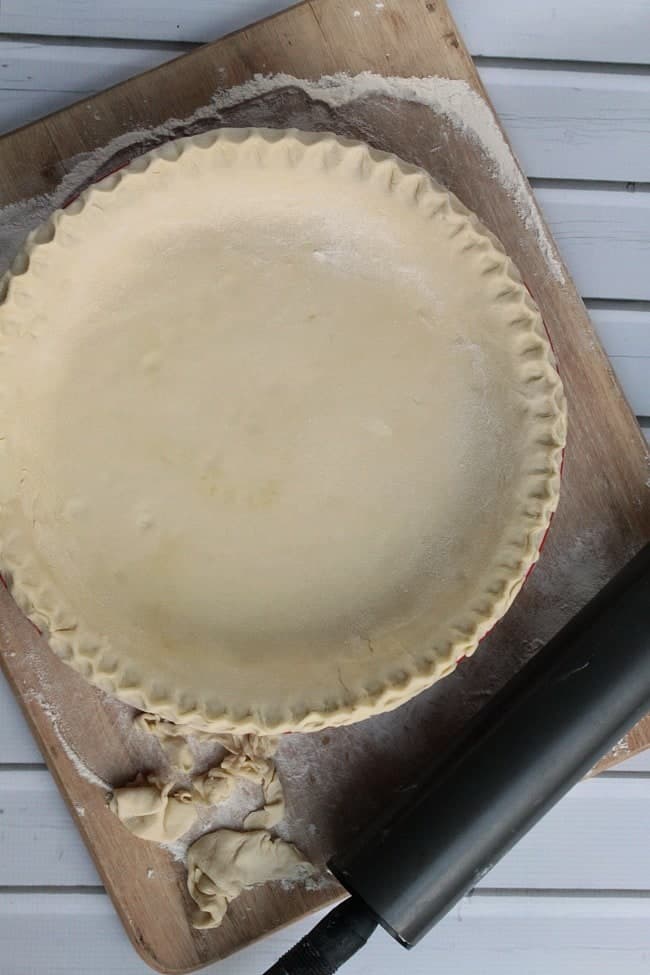
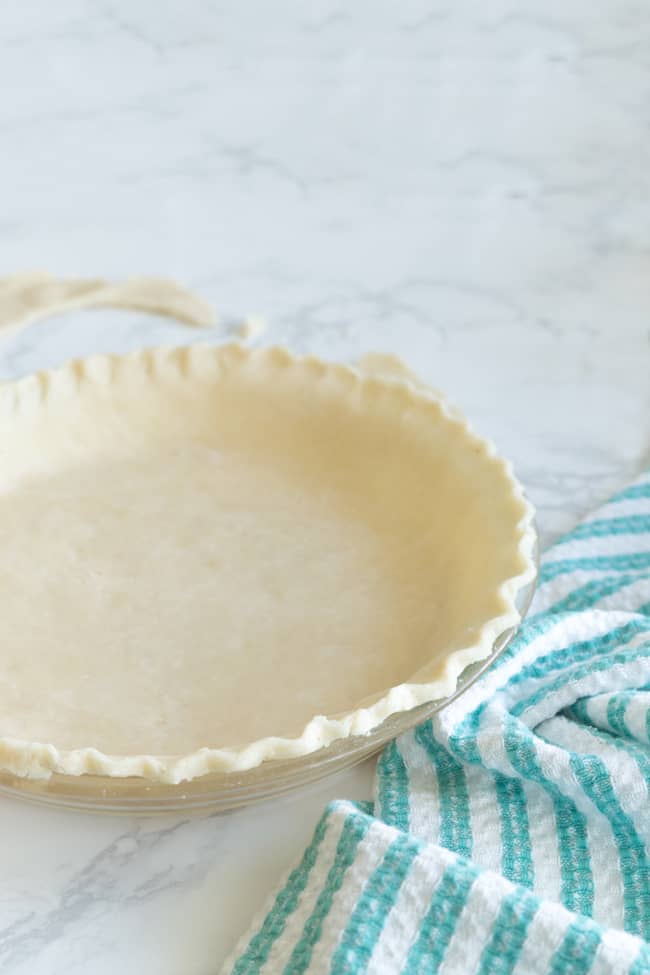
7. Trim or tuck in the edges and make pretty either by crimping with your fingers or pressing a fork around the edges. You are now ready to fill and bake your pie.
I hope you’re inspired to make your own pie crust for your homemade pies this year for the holidays.
If you’re looking for a vegan version of this pie crust, here’s where you can find all the magic!
How to Make Perfect Pie Crust in a Blender
Ingredients
- 1 1/4 cups all-purpose flour
- 1 ⁄4 teaspoon salt
- 1 ⁄2 teaspoon granulated sugar
- 5 Tablespoons cold vegan butter , cut into pieces
- 3 Tablespoons ice-cold water
- 1 Tablespoon cold vinegar
Instructions
- Add flour, salt, sugar, and butter to the Twister jar of your Blendtec blender. Place and hold Twister lid on jar, then press “Pulse” 10-12 times until mixture resembles coarse crumbs.
- Add water and vinegar. Replace Twister lid and hold, pressing “Pulse 8-10 times until dough is formed, turning Twister lid counterclockwise during blending. Do not overblend.
- Remove dough and pat into a smooth disc. Wrap disc in plastic wrap and refrigerate at least 2 hours before rolling out dough.
Notes




What a fantastic recipe! My boyfriend used to work at a bakery and he was shocked when I said I wanted to make my own pie crust. His words were – “it’s such a pain in the a** to make!”. Well fear not, cause I’m found this fantastic recipe. It was fairly simple to make and I used it in a vegan quiche, yum yum yum!
Thank you and I’ll be sure to follow you for more ideas/recipes!
Yes pie crust can definitely sound intimidating, but it’s not hard at all if you know some of the basic tips and tricks. So happy you gave it a shot and it worked out!
Thank you for the video – so glad I found it! I’m making pie crusts today for the first time in at least a dozen years. I don’t have a Blendtec, but I think my Vitamix dry canister will work the same way (except for the clever scraping lid).
Yes! I actually have since transitioned to Vitamix and it does indeed work just as well. Just pulse and stop to scrape the sides every so often.
Will a Ninja food processor and/or blender work?
Yes, I believe a food processor may be able to do it 🙂
Please clarify how much salt and sugar the recipe calls for, how it is in the recipe is a little confusing. Thanks
Hi I have a blendtec with the usual jar and the wild side one, can I make pastry dough in this without having the twister jar?
Thanks
Hi Kim! Yes, you can use any blender jar, but you just may have to stop and scrape down the sides. the smaller jar allows for smaller batches of food to be mixed up, plus you can use the built-in scraper that comes with the lid of the smaller jar.
What temperature should this crust be baked at?
Wendell, it completely depends on what you’re filling your pie with. For my classic Homemade Apple Pie, I bake 15 minutes at 425 degrees F. Reduce the temperature to 350 degrees F, and continue baking for 35 to 45 minutes.
Refer to the specific pie recipe for a more accurate setting.
That’s awesome! I didn’t know you could use a blender for this! Thanks for sharing with us at the Merry Monday link party. I hope you’ll join us again next week. Sharing your post on Twitter!
right?! it’s little tips and tricks that make my life easier and give me more confidence in the kitchen!
Pie crusts intimidate me. I will have to give this a try someday. Thanks for sharing with us on the #HomeMattersParty this week. I hope you join us again next week.
You are not alone! a lot of people are really scared of pie crust, and I used to be also. Until I actually tried it – it’s SO easy!
Nothing compares to a homemade pie crust. My mom always made homemade crusts and pie fillings and I always loved eating pie, but then one day I tried a store bought one and wondered how people ate them. I’m so happy it’s pie season 🙂
Right?! Nothing quite compares does it?
Hi, i want to try this but i don’t know what is the size of the pan…
Can you help me with that?:)
I want to try your apple pie and you said to make double crust
Another question.. Can i leave the dough for 2 days in the freezer?
Yarden, you’ll want to use a deep dish 9-10 inch pie pan. Definitely deep dish to fit all those gooey apples!
And as far as freezing the dough, I have frozen my dough in the past, and while it works out, the results are much better when you make it fresh. With how easy this crust is, there’s no reason why you can’t just make it right before assembling the pie. Good luck! You’re going to love it!
Great idea! What type of vinegar do you use?
I just use basic white vinegar
Instead of Vinegar we use Vodka and the last crust I made I used Whipped Cream Vodka and it turned out great! If you use 1 part water to 1 part Vodka it keeps the crust from getting tough. AND even though my recipe call for 1/4 cup of each, I combine them and end up using about half. Don’t just dump it all in at one time. It helps to add it gradually until you get the stick together consistency you need. I use my food processor also but my husband uses the NINJA.
Fastest way to make pie crust is put everything in a tupperware container and shake it up — you get the same effect — after you get it all the little balls of flour/shortening — add your water and shake again to you get a thud.. Easy as pie.
wow I’ve never heard of that method. Awesome!
Great post! I need to try this. Pinned. Lou Lou Girls
I NEED to try this. I just got a blendtec about a month ago and I’ve only tried making pie crust once before, but it was a pain and not that great so I can’t wait to try this with how easy and tasty it looks!
oh you are going to LOVE your blendtec once you realize all it can do. It makes life so much better. Also… now you can make baby food for your little man!
I’ve done one similar to this but what is the vinegar do?
The vinegar plays two roles. It adds a tenderness to the crust and also makes it more flaky.
Try placing crust on a sheet of waxed or clingy paper and cover with another. Roll out as usual. Removed top sheet & lay crust into pie pan, paper side up. Removed second sheet of paper, shape. Bake as recipe requires……….Ta Da! Instant Crust, no fuss, no muss.
I despise making pie crusts and hate when they use shortening. Thank you so much for this recipe. Pinned and shared.
No doubt, homemade pie crust beats Sara Lee any day! I usually use a food processor to mix mine, but same basic idea.
Yes, it’s the same idea as the food processor. I can’t believe I’ve been making it by hand in a bowl for so many years!