Instant Pot Black Eyed Peas (No Soaking!)
We may earn a commission if you decide to make a purchase through our links, at no cost to you. As an Amazon Associate I earn from qualifying purchases. Please read our privacy policy for details.
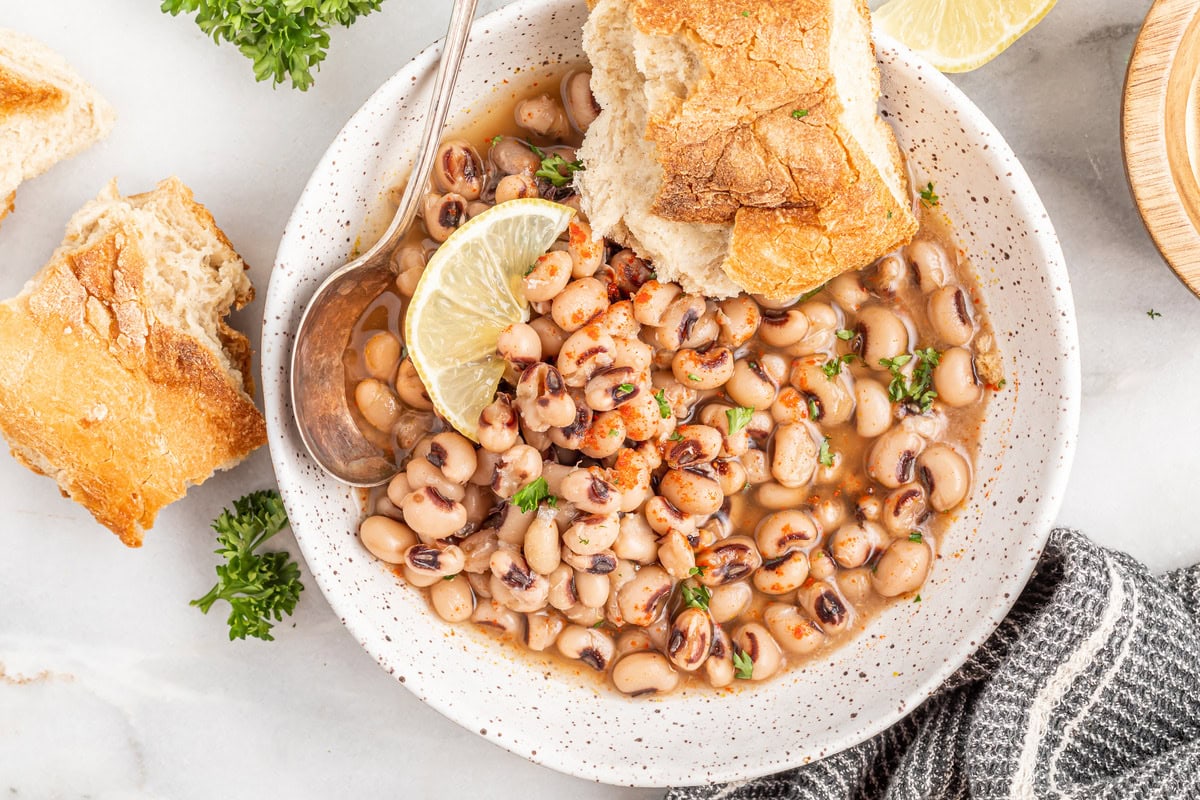
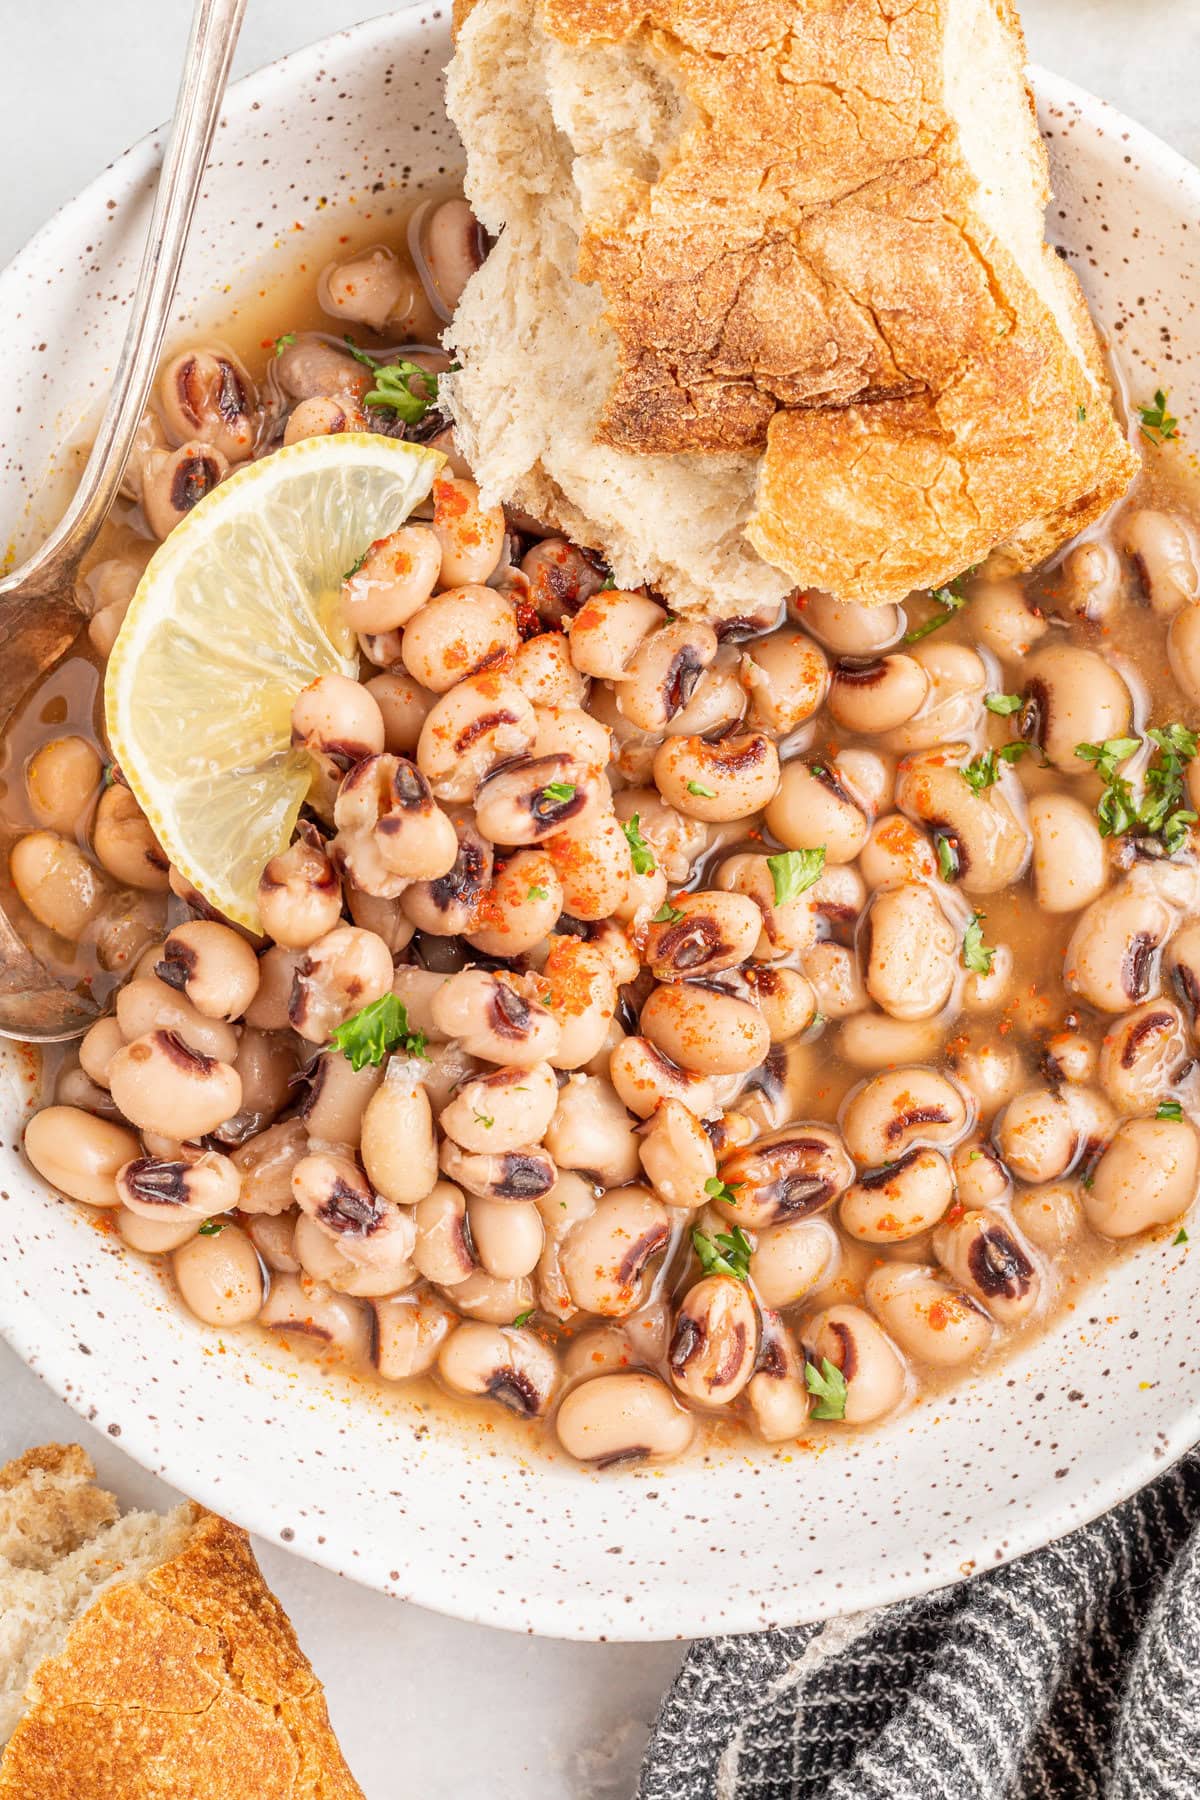
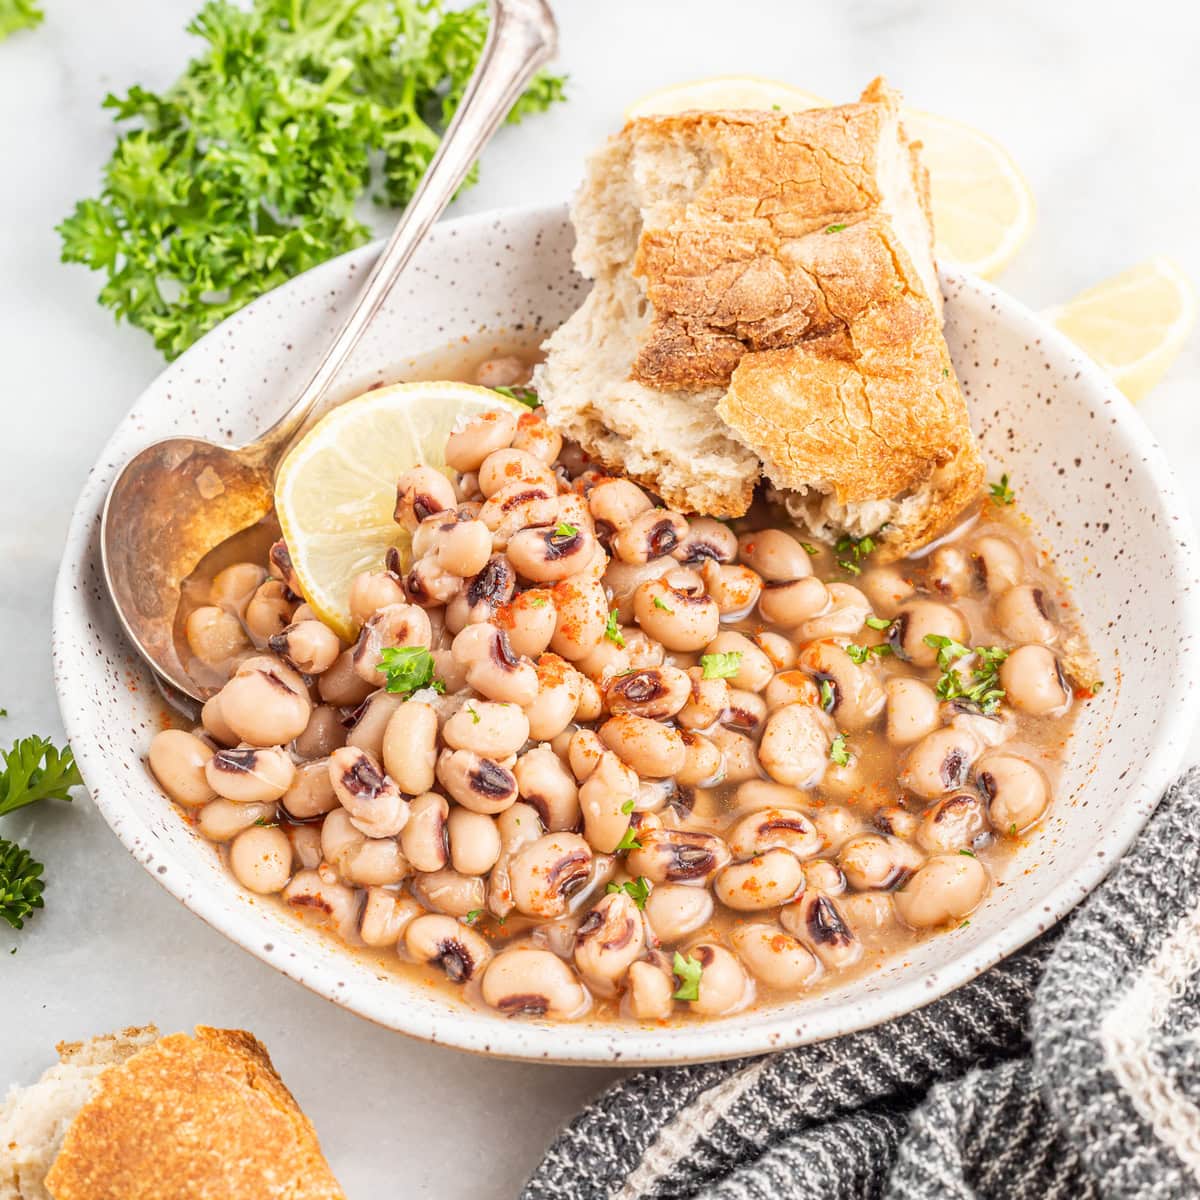
This Instant Pot black eyed peas recipe yields perfectly cooked black eyed peas in 35 minutes. Just 4 ingredients and everything is done in the Instant Pot!
No need to soak the black-eyed peas—simply dump everything in the multi-cooker and come back to a versatile dish that will leave you feeling lucky right from the first spoonful.
This comforting black-eyed peas Instant Pot recipe is also completely vegan and can easily accommodate various herbs, seasonings, and veggies!
WANT TO SAVE THIS RECIPE?
For a hearty and nourishing meal, serve these black-eyed peas with green bean salad and vegan tacos!
Why You’ll Love This Instant Pot Black Eyed Peas Recipe
- Get perfectly cooked black eyed peas every single time with just 35 minutes of cook time and 4 basic ingredients. No mushy black eyed peas here!
- Making black eyed peas in the Instant Pot requires zero prep work and minimal clean-up. You don’t need to worry about soaking the dry beans beforehand; everything is done in the Instant Pot.
- These hearty pressure cooker black-eyed peas are delicious, comforting, and versatile. Use the tender beans in various recipes or serve them with other vegan dishes for a hearty but nourishing meal.
Ingredients And Substitutions
Black-eyed peas – For this Instant Pot black-eyed peas recipe, you’ll need dried black-eyed peas. No need to soak them; just rinse them first.
Vegetable broth – This will give these vegan black-eyed peas flavor, so they’re ready to be used in various recipes or served with other dishes.
Water – Helps cook the dry black eyed peas to tender perfection.
Sea salt – Add only the necessary amount, as the broth is already salty. For depth of flavor, experiment with other spices and seasonings, such as black pepper, paprika, and red chili flakes.
Optional add-ins:
Extra-virgin olive oil – Adds richness to the Instant Pot black eyed peas.
Yellow onion and fresh garlic cloves – These optional aromatics will give the black eyed peas a deeper flavor.
For serving (optional):
Bread – Perfect for sopping up all the deliciousness of this comforting dish.
Creole seasoning – Adds a touch of savory goodness to the pressure cooker black eyed peas.
Lemon wedges – Squeeze fresh lemon juice before serving to bring brightness to the hearty soup.
Parsley – For garnish. Parsley also provides the savory peas with a fresh, herby flavor.
If you want leafy greens in your black-eyed peas, stir in some baby spinach until wilted. After cooking the dish, you can also add some vegan bacon bits for meaty texture and flavor!
Tips For Making This Recipe
Start with a Flavorful Base
You can start this recipe with the Instant Pot on saute mode. Saute onion in oil over medium heat for about 3 minutes, then switch to manual and add the black-eyed peas, broth, water, and salt.
Serving Ideas
Enjoy your Instant Pot black eyed peas with vegan cornbread, roasted sweet potatoes, or brown rice. These perfectly cooked black-eyed peas can also be used in salads, stews, soups, and dips!
Storage Tips
Allow the pressure cooker black eyed peas to cool. Then, transfer the leftovers to an airtight container and refrigerate for up to 5 days. To serve, reheat on the stovetop over medium heat, adding a bit of water as needed.
Black Eyed Peas Recipe FAQs
Do you have to soak black eyed beans?
Nope. The best thing about this quick and easy Instant Pot black eyed peas recipe is you don’t need to soak the beans beforehand.
Can I use frozen black-eyed peas for this recipe?
No. If you cook the black-eyed peas in the pressure cooker, use dry ones. Otherwise, you might end up with mushy black-eyed peas.
Can you freeze Instant Pot black eyed peas?
Yes. Store them in a freezer-safe container for up to 1 month. To reheat, defrost in the fridge overnight and place over low-medium heat on the stovetop.
Why are my Instant Pot black eyed peas mushy?
Black-eyed peas can get mushy if overcooked. Frozen and canned beans are much easier to overcook than dried ones.
How do you thicken black eyed peas?
You can mash a small amount of the cooked black-eyed peas and return them to the pressure cooker for a thicker soup.
More Delicious Vegan Instant Pot/Slow Cooker/Crockpot Recipes
- Instant Pot White Bean Soup
- Instant Pot Vegan Mac and Cheese
- Slow Cooker Vegetarian Pot Roast
- Crockpot Minestrone Soup
- Instant Pot Sushi Rice
I found this recipe for Black Eyed Pea Dip that I HAVE to try!
Yay! You have made it this far, and I am so glad! Hey – If you make this recipe, I’d love for you to give it a quick review & star rating ★ below. Your comment and/or rating helps other readers!
Instant Pot Black Eyed Peas
Equipment
Ingredients
- 2 cups black eyed peas, rinsed
- 4 cups vegetable broth
- 2 cups water
- ½ tsp sea salt
Optional add-ins:
- 2 tsp extra-virgin olive oil
- 1 small onion, diced
- 1 clove garlic, pressed or very finely minced
For serving (optional):
Instructions
- Add the black-eyed peas, broth, water, salt, and your choice of add-ins to the Instant Pot insert. Stir to combine everything and prevent sticking.
- Cover, turn the vent to sealing, and cook on manual High for 15 minutes.
- Allow natural release for about 12 minutes, then release any remaining pressure.
- Remove the lid carefully and season to taste. Serve with bread and lemon wedges. Sprinkle with creole seasoning and chopped parsley.
- You can also use the broth as a base for soups or strain it off to use the perfectly cooked, tender peas in dry dishes.
Notes
- You can start this recipe with the Instant Pot on saute mode. Saute onion in oil over medium heat for about 3 minutes, then switch to manual and add the black-eyed peas, broth, water, and salt.
- Enjoy your Instant Pot black eyed peas with vegan cornbread, roasted sweet potatoes, or brown rice. These perfectly cooked black-eyed peas can also be used in salads, stews, soups, and dips!
- Allow the pressure cooker black eyed peas to cool. Then, transfer the leftovers to an airtight container and refrigerate for up to 5 days. To serve, reheat on the stovetop over medium heat, adding a bit of water as needed.


